


The host's name
I recently had to add a standalone Ubuntu 20.04 Linux PC to an Active Directory (AD) 2012 domain. And one of the first things I needed to do was to change the PC's hostname to comply with the AD domain's official computer naming convention.
In this write-up, I am describing the procedures I used to change the host's name.
Requirement: To change the hostname, root or sudo privileges are required.
Different types of hostnames in Ubuntu
Ubuntu 20.04 LTS makes use of different types of hostnames. These types are static, pretty and transient. The static hostname is used to initialize the hostname at boot. You can read more on the different types here Ubuntu 20.04 Man Pages.
In this write-up, I am only dealing with the static type hostname.
View the current hostname
There are several ways to view the hostname. I will describe a few of the common methods next.
Checking file /etc/hostname
The hostname is stored inside the file /etc/hostname. Thus you could do a simple cat /etc/hostname to view the hostname.
hostname command
A simpler option is to execute the command hostname on the command line, which returns the hostname.
demo-user@ubu-serv:~/Desktop$ hostname
ubu-serv
Query the kernel value
Execute cat /proc/sys/kernel/hostname, which returns the hostname.
demo-user@ubu-serv:~/Desktop$ cat /proc/sys/kernel/hostname
ubu-serv
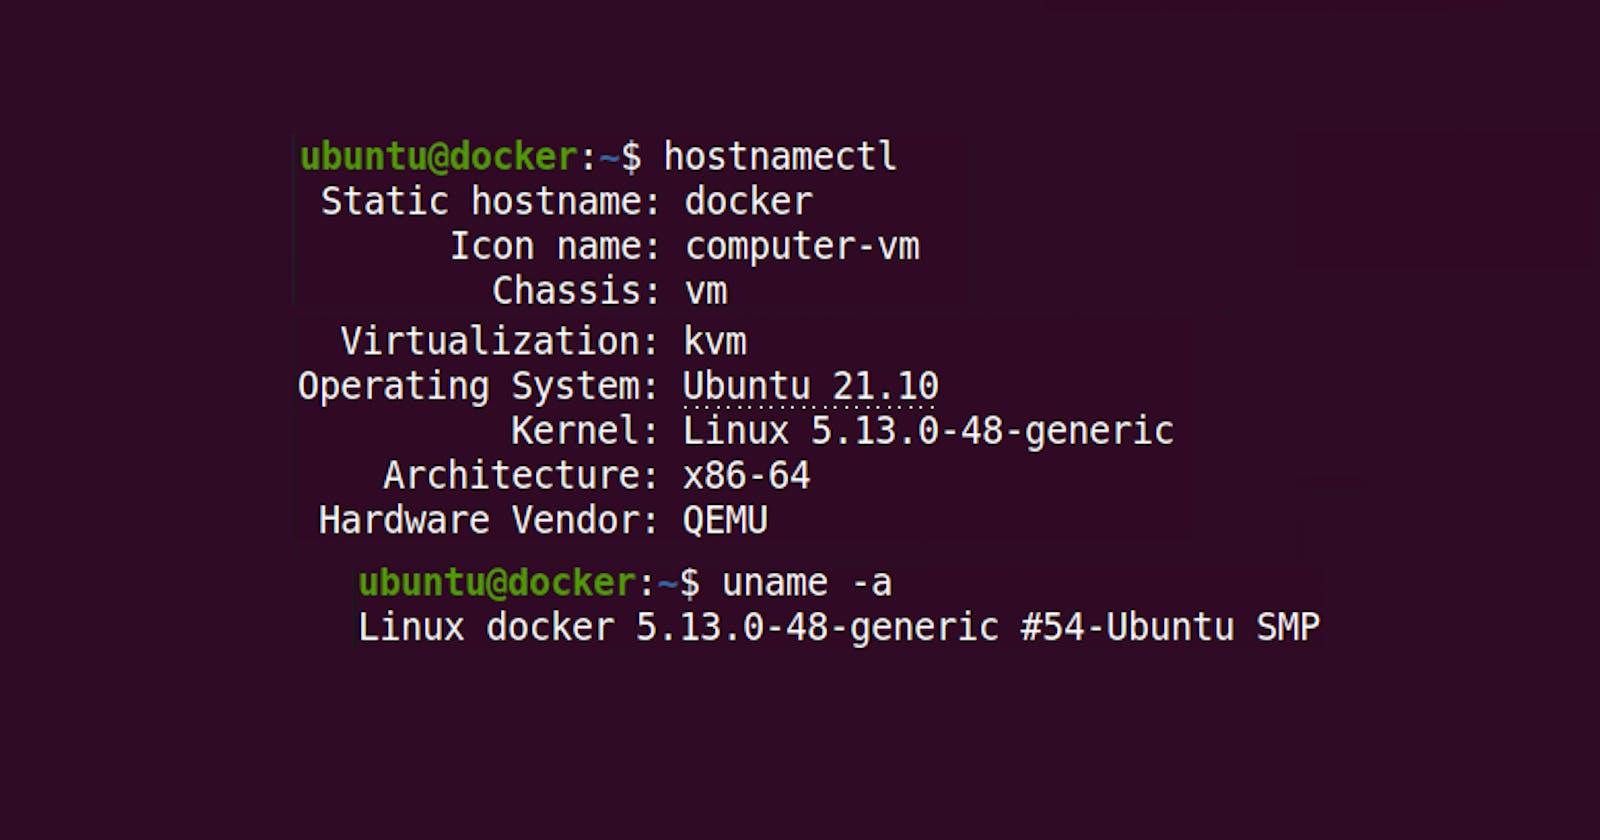
Using hostnamectl status
Since Ubuntu 20.04 is a Systemd based Linux distro, you can use the hostnamectl status command. I prefer this option because it returns additional useful information all in one go. See the outputs of this command below.
demo-user@ubu-serv:~/Desktop$ hostnamectl status
   Static hostname: ubu-serv
         Icon name: computer-desktop
           Chassis: desktop
        Machine ID: a355d7bc914d416da2dee780af0747c2
           Boot ID: 6024a659992a43e28bd171393536842b
  Operating System: Ubuntu 20.04.4 LTS
            Kernel: Linux 5.13.0-37-generic
      Architecture: x86-64
Side note: When using hostnamectl, you can limit the output to the specific hostname type, for example, hostnamectl status --static, hostnamectl status --pretty or hostnamectl status --transient.
Changing the host's name
To change the hostname, root or sudo privileges are required.
An MS Active Directory requirement
Note that if you plan to join the PC to an MS Active Directory domain, you must provide the PC with a fully qualified domain name (FQDN). This domain name should match the domain name to which you want to join the PC.
Change the hostname using hostnamectl with the set-hostname command and the --static option. Since I intend to join the PC to an MS Active Directory domain, I will implement an FQDN name.
demo-user@ubu-serv:~/Desktop$ hostnamectl set-hostname --static demo-host-name.mydomain.com
==== AUTHENTICATING FOR org.freedesktop.hostname1.set-static-hostname ===
Authentication is required to set the statically configured local hostname, as well as the pretty hostname.
Authenticating as: demo-user (demo-user)
Password:
==== AUTHENTICATION COMPLETE ===
Querying the hostname now will show the new hostname, incl. the domain name.
demo-user@ubu-serv:~/Desktop$ hostnamectl
   Static hostname: demo-host-name.mydomain.com      ---> notice the name changed
         Icon name: computer-desktop
           Chassis: desktop
        Machine ID: a355d7bc914d416da2dee780af0747c2
           Boot ID: 6024a659992a43e28bd171393536842b
  Operating System: Ubuntu 20.04.4 LTS
            Kernel: Linux 5.13.0-37-generic
      Architecture: x86-64
The new name will also be reflected inside the /etc/hostname file.
demo-user@ubu-serv:~/Desktop$ cat /etc/hostname
demo-host-name.mydomain.com
Notice that the hostname contained in the command prompt still reflects the old hostname. However, if you open a new terminal window or terminal tab, the new hostname will be reflected.
demo-user@demo-host-name:~/Desktop$   ---> the new hostname is reflected inside
a new terminal window or tab
Done!
At this point, your system's hostname is changed. Mission accomplished.
One last thing. If you use the local hosts file for name resolution, you will need to manually update this file.
At this point, the /etc/hosts file still reflects the old hostname, which is ubu-serv in my example.
demo-user@ubu-serv:~/Desktop$ cat /etc/hosts
127.0.0.1    localhost
127.0.1.1    ubu-serv   ---> the old name is reflected
~
~
Update the hosts file by replacing the old hostname with the new hostname using your file editor of choice. According to the man pages, 127.0.1.1 is often used for the FQDN of the machine. So I will stick to this convention. Edit the file using your editor of choice. I use Vim.
demo-user@ubu-serv:~/Desktop$ vi /etc/hosts
127.0.0.1       localhost
127.0.1.1       demo-host-name.mydomain.com      ---> adding the new hostname
~
~
All done!
That's it from me.
References:
Ubuntu 20.04 Man Pages: Control the system hostname using hostnamectl